The Overlay tool allows you to place, or overlay, a separate page from your plans onto your current page. There are two types of overlays. The Standard Overlay type allows you to overlay a plan page on top of your current page, like a transparency, which is typically used for comparing multiple levels of the plan. The Comparative Overlay type allows you to compare two versions of the same page after a revision so that you can see additions and deletions. Additions are shown in red, deletions in blue. Both overlay types use the same procedure. To create a standard overlay:
With the page open that you want to overlay a page on top of, click on the Overlay button
The Overlay dialog displays where you select the overlay image file.

A Confirm window asks if you want to align the overlay. Click on Yes .

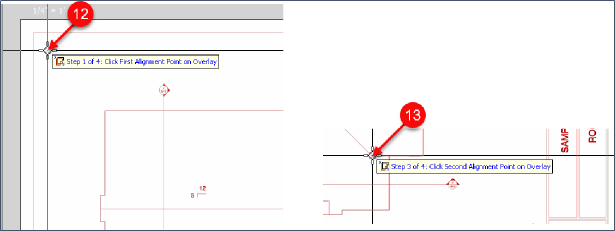
You are now prompted to click the first alignment Point on the overlay.
Three more steps have you aligning the overlay, clicking the second Point, and aligning the second Point so that the overlay is exactly over the original plan.

If you don't line it up correctly, hover over the new overlay in the Pages, Booksmarks window until the re-do button appears, then click on the button and start the four alignment steps over again. Note that you can zoom and pan pan as normal while performing the alignment steps.


Related Articles
