Saving a Project Search
Once you have decided what types of projects you want to search, you can save the results as a new search, change the name of an existing search, and save any modifications to an existing search with either the same or a new name.
You can modify existing searches using the techniques described in Understanding the Manage Searches menu.
To save a search:
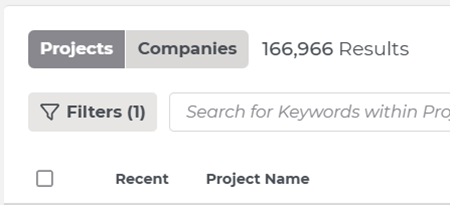
| 1 | On the Search page in Project Intelligence, you will see the following options.
Directly below the search buttons, you will have an option to select filters for either projects or companies (whichever option is selected will appear ‘greyed’ out)
Clicking the Filters button will open a filters menu on the left side of the screen:
From this menu, you can use the filters to select the criteria for your Saved Search. For a full breakdown of project and company filters, please see Modernized Search Page Filter Glossary. |
| 2 | Once your filters have been chosen and results have populated, click the following button to save the results:
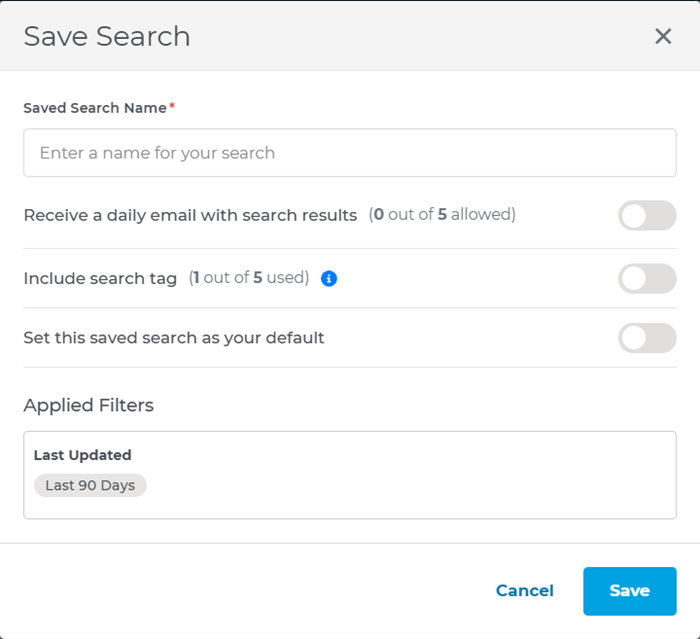
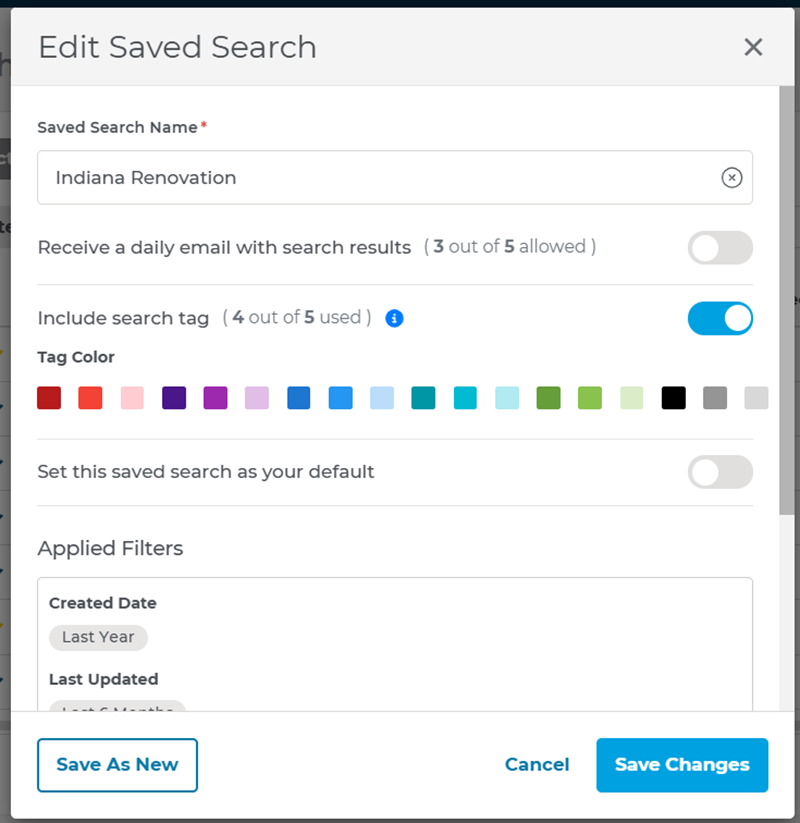
A menu screen will appear with a text box at the top where you can name the search. This screen also has three toggle switches, allowing you to receive email notifications, add search tags, or set the search as your default:
Once you have selected options, click the ‘save’ button to save the results. If you do not want to save, hit ‘cancel’ to return to the filters menu. |
| 3 | Once you have saved one or more searches, you can view them above the Filters menu on the left side of your screen. Your most viewed searches (up to five) will be the first five searches under the Saved Searches heading.
To view all your saved searches, click the ‘view all’ button. |
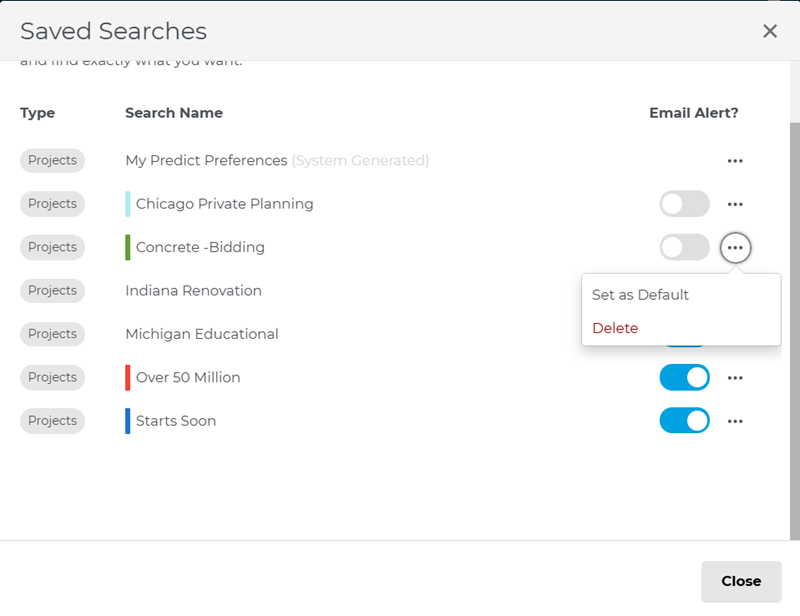
| 4 | By clicking View All, a dialog box showing all your saved searches will pop up in the center of the screen. From this menu, you can also see which saved searches have a tag associated with them (see the purple stripe to the left of the ‘tags3’ and ‘tags33’ searches below).
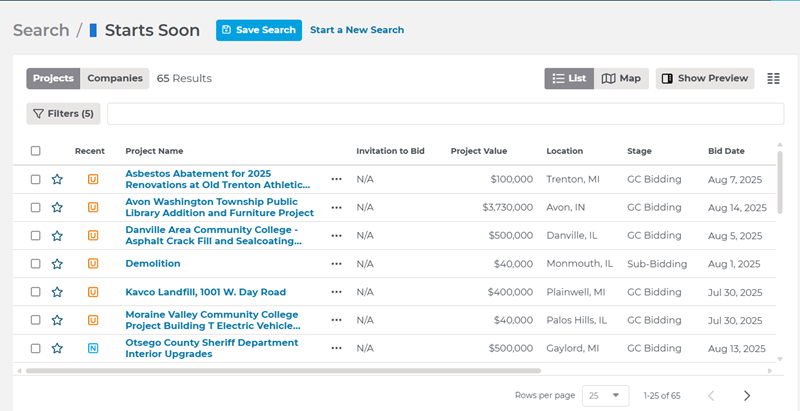
When you open a saved search, you will see its name (as well as a color stripe matching its associated Search Tag) at the top of the page in the center next to the Save Search and Start a New Search buttons (see below).
|
| 5 | The Search Tags feature lets you add a color-coded tag to any of your saved searches to identify projects and companies that match exact criteria. To add a search tag, switch on the toggle next to Include a Search Tag on the Save Search menu. Once it is turned on, you can assign a specific color tag to your search.
You can assign a maximum of five search tags. Once you have selected a search tag and the results have been saved, you will see that tag next to the corresponding search name in your Saved Searches menu on the left side of the screen:
|
| 6 | In the Saved Search menu, you will use the Saved Search Name to…
|
| 7 | The email alert feature sends you an email when…
To set email alerts for a search, simply toggle on the switch next to the text that reads “receive a daily email with search results” in the Save Search menu:
You can set email alerts for a maximum of five saved searches. |


For more information about using search filters, loading and saving your searches, or building better relationships with your contacts, check out these quick videos:
Using Search Filters:
Save and Load Searches:
Building Relationships:
Related Articles