
Although you manage Punch Items in the Punch List, you create Punch Items using the Punch Item tool ( ) located on the Annotation toolbar.
- First navigate to the Page that represents the room or location in your project where the Punch Item exists; typically this is the Page where you drew the takeoff associated with the work that needs to be done.
- Next click on the button on the Annotations toolbar (unlike markup Annotations you do not set color options when dropping the Punch Item onto your plan you set up all the details for the Punch Item in the Punch Item dialog box)
- Locate the place on the plan where you want to set your Punch Item and click there
A new blank Punch Item dialog box opens.
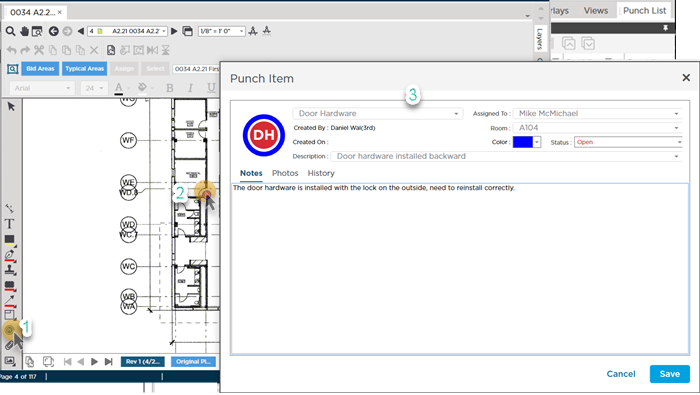
| Field | Description/How it's used |
|---|---|
| Type | Select a Type (Electrical HVAC door frames etc.) from the drop-down. The first letters of the first two words of the Type are used for the icon. You can also type in your own custom Type it will be available going forward. |
| Assigned to | Select from a list of previous used entries or type in the name of the party who is responsible for fixing this work item. (Copies to subsequently added Punch Items until you change it.) |
| Created by | Your user name is filled in here automatically and cannot be changed. This is part of the permanent History for the Punch Item. |
| Room | Enter the room (based on the plans) where the damage or issue exists. (Copies to subsequently added Punch Items until you change it.) |
| Created on | The current date and time is filled in here automatically and cannot be changed. This is part of the permanent History for the Punch Item. |
| Description | Describe exactly what the issue is for example "missing fixture" or "broken tile". Because you specify the Room where this work needs to be done it does not need to be included in the description. The last several Descriptions you enter are stored and available in the drop-down. |
| Color | You can specify the outside color of the icon but the inside color corresponds to the "Status" of the Punch Item so you can scan your Punch List quickly to see what needs to be done. The Color copies to subsequently added Punch Items until you change it. |
| Status | The Status updates the color of the inside of the Punch Item's icon.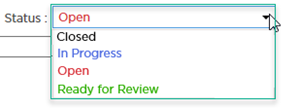 Black...Closed Blue...In Progress Red...Open Green....Ready for Review |
There are three tabs along the bottom of the Punch Item dialog box:
- Notes - fairly straight-forward these are notes you want to share about this work item
- Photos - any photos you want to attach to help explain details of an issue. Use the Photos tab to upload and review photos added by other users
- History - everything that happens to a Punch Item is logged in the History
 Track Job Site Rework Using the Punch List and Punch Items Track Job Site Rework Using the Punch List and Punch Items | Using The Punch List  |
Related Articles