
When copying and pasting an Area takeoff object that includes backouts, how you select the object dictates whether the backouts are copied/pasted with the original takeoff or not. Because the Area takeoff object and any backouts are considered individual objects they can be selected together or separately for editing.
Clicking on the Area Object
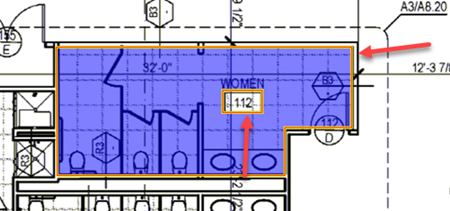
For example if you click on the Area takeoff object directly only the Area takeoff object is selected not the backout.

When you copy and paste only the area object itself is pasted.

To include the backouts you select the takeoff object by roping...
Roping around the Area Object
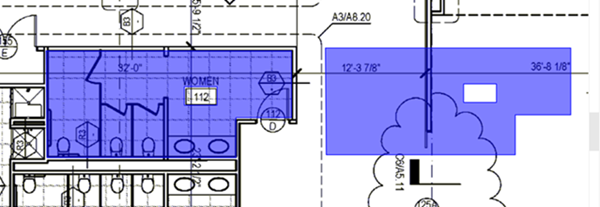
To select an area and all its backouts use Roping and draw a box around the object.
Alternately you can click on the area object hold down the Shift key and select the backout(s) then copy and paste. Roping is easier and more foolproof because you cannot "miss" a backout however if drawing a rope selects objects you don't want to copy and paste you may have to select each object individually - for example if roping selects walls or counts you do not want to copy and paste.
- Click the
 from the Takeoff Toolbar
 - Draw a selection box around the Area takeoff object

Notice after drawing the selection box both the Area takeoff object and the backout are selected.
Now when you copy and paste both the Area and the backout are pasted.
Selecting Area takeoff objects and backouts this way can also be used for allocating to a Bid or Typical Area or even deleting the objects although when you delete an Area takeoff object you effectively delete all backouts automatically.
 Pasting Objects Using the Context Menu Pasting Objects Using the Context Menu | Re-positioning and Moving Objects  |
Related Articles