
If you are working with electronic plans that were scanned to create image files (rather than saved in electronic format by the Architect) the plans may be slightly skewed (not level). This makes it a little more difficult to align and identify differences between the Base and Overlay Plans.
The Deskew tool ( ) allows you to adjust the Overlay Plan to "level" it horizontally. This is step 1 on adjusting your Overlay so it best matches the Base Plan.
Here's an example:
When we added the Overlay below we can see it is a little "crooked" before we can align this Overlay to the Base Plan (so we can begin comparing it) we need it to be level.

To deskew (or "level") the Overlay Plan
- Click the button on the Overlay toolbar
- In Deskew Mode locate a long line on the Overlay (blue) Plan that is supposed to be level (horizontal)
- Using your mouse draw the "deskewing line" over that known horizontal line
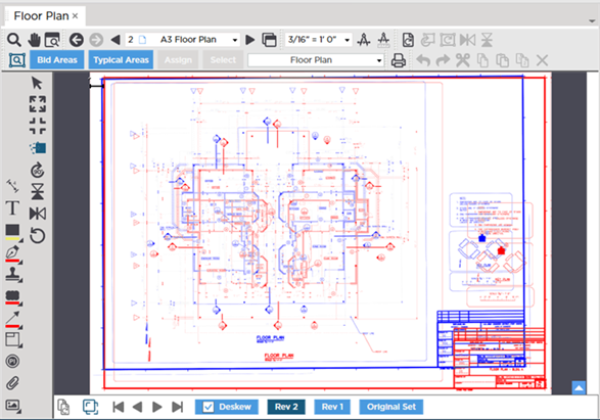
After deskewing, the Overlay is now level to the horizontal plane, however the Overlay image may need to be:
- Rotated (covered in the next article)
- Flipped vertically or horizontally (covered later in this section)
- Resized (covered later in this section)
- Aligned (covered later in this section)
If your Base Plan and your Overlay Plan are both skewed you will have to use trial and error to get the Overlay to line up with the Base Plan as good as you can. Both Plans may still be a little crooked but at least they will match up (Base Plans cannot be deskewed inside ConstructConnect Takeoff).
If you get to a point where you are have difficulty adjusting your Overlay just click the Reset Overlay button ( ) and start over.
 Using the Overlay Toolbar Using the Overlay Toolbar | Overlay Tools - Rotating an Overlay  |
Related Articles