
If you haven't already installed Quick Bid, you start here.
- Review the System Requirements before proceeding.
- Read the Release Notes for this version (and previous versions, if you like).
- Visit the Quick Bid® Product Information and Downloads page for last-minute information about the current and past versions and to download installers.
Installation Instructions
You can download the current version of Quick Bid from the Product Information page linked above.
- Save the downloaded installer file to your local hard drive (your Downloads folder is a perfect place - it is easy to find the installer)
- Once the installer file is downloaded, double-click it to begin the installation
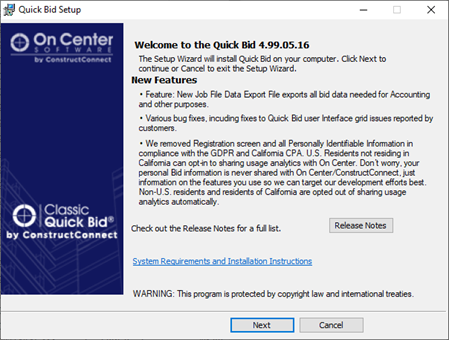
- Click Next on the Welcome Screen
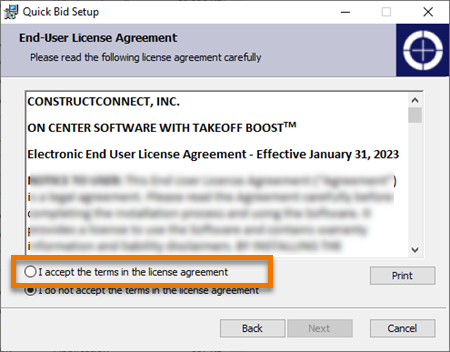
- Review and Accept the End User License Agreement and click Next
 .
.
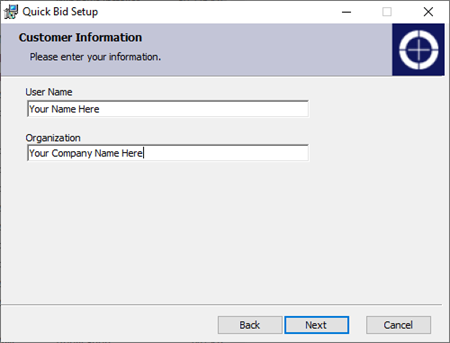
- Enter in the user and company name to which you want this installation of Quick Bid registered (this information is displayed on the "Splash Screen") and click Next.
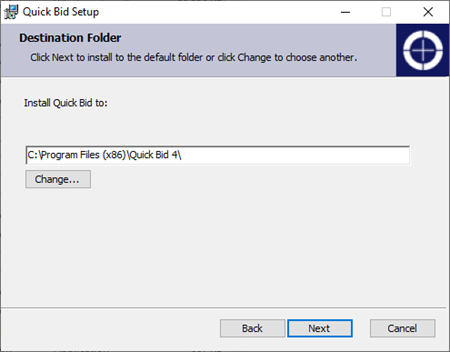
- If you need to install to a directory other than the Windows default (Program Files or Program Files (x86)) click the Change button, otherwise click Next on the Destination Folder screen
We recommend installing to the Default directory.
 .
.
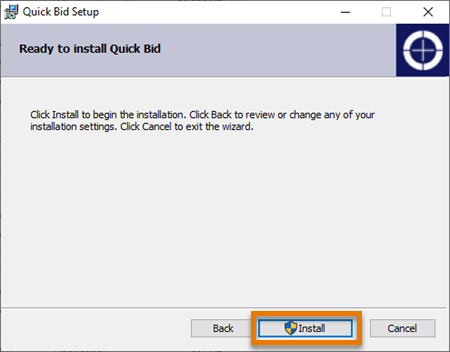
- Click Install.
When you click Install, the Windows User Account Control/Window Security pop-up opens, you must be a local Windows administrator to install the product.
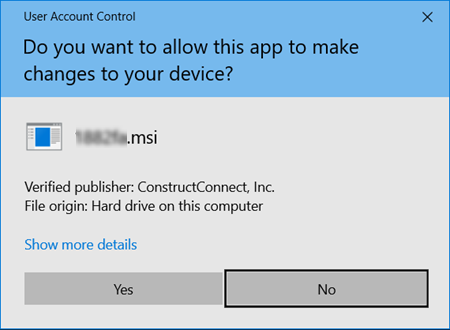
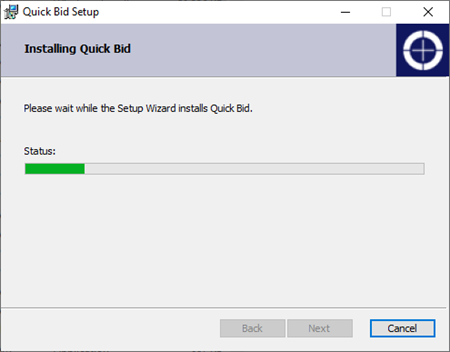
- Click Yes to continue with the installation - a progress screen displays
 .
.
- When the installation is complete, an information screen displays - review the information and then click Finish
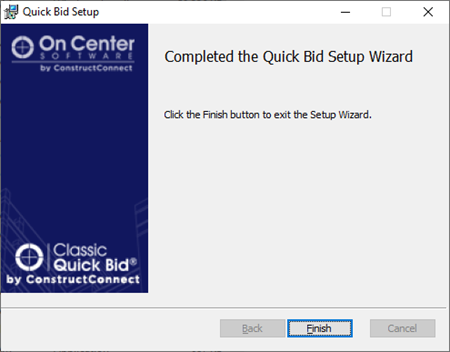
After you click "Finish", a web page opens explaining how to license your product (also covered in the next article).
You can find the shortcut to Quick Bid on your desktop, double-click it to launch the program.

To use any features of Quick Bid, you must activate a license, covered in the next article.
 What Have You Gotten Yourself Into? An Introduction to Quick Bid What Have You Gotten Yourself Into? An Introduction to Quick Bid | Licensing and Registering Quick Bid (Unlocking Full Functionality)  |
Related Articles