
The Overlay Toolbar provides quick access to adding, resizing, deskewing, and removing Overlay drawings, along with toggling current view.
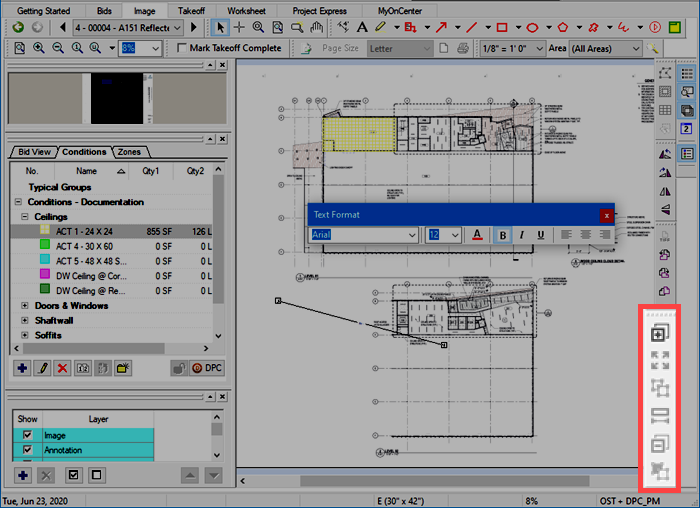
By default, this toolbar is docked below the Image Toolbar, on the right side of the application.
| Button Icon | Function | What it does/What it means... | Keyboard Shortcut |
|---|---|---|---|
 | Add Overlay | Opens a dialog box where you select which plan/image you want to overlay to the current Plan | |
 | Resize Overlay | Launches the Resize Overlay wizard so you can resize the overlay to match the Base image/takeoff on the current page. | <Alt> + <R> |
 | Align Overlay | Allows you to fine-tune alignment between the overlay and base images | |
 | Deskew Overlay | Just like deskewing a base image, allows you to correct for slightly skewed drawings (typically happens when paper plans are scanned) | |
 | Remove Overlay | Removes the overlay from current page - you can then select/add a new overlay | |
 | Toggle Base-Overlay-Both | Toggles the view between Base Image, Overlay, and Both. Button shading changes depending on which view is active: - Both;  Base only; Base only;  Overlay only; Overlay only; |
 Rotate and Flip (Takeoff) Toolbar Rotate and Flip (Takeoff) Toolbar | Print Area Toolbar  |
Related Articles