
Create a Zone
To create a Zone,
- Click on the Zones tab in the Conditions window
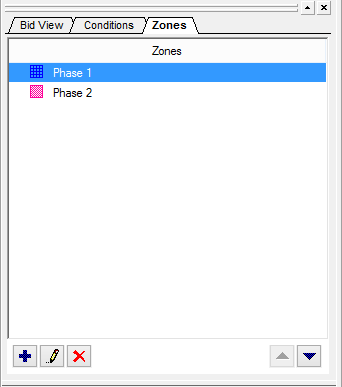
- Click the Add button
 or,
or, - Press the <Insert> button -
The Zone Properties dialog box opens.
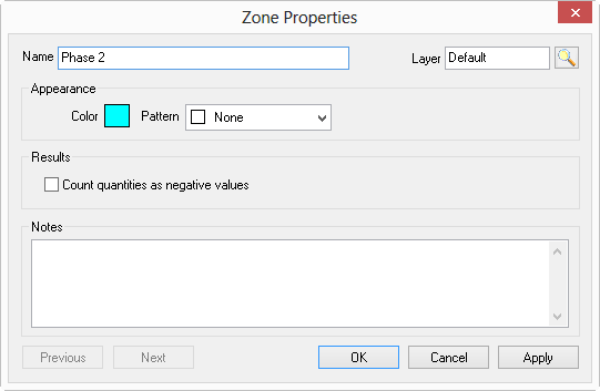
- Type in a Name for the Zone.
- Assign it to a Layer (optional) - the Zone objects you draw are assigned to this Layer, but the takeoff objects inside this Zone are still on their respective Layers (showing/hiding the Zone does not necessarily have any effect on the takeoff within the Zone).
- Change the choices in the Appearance and Notes sections as needed.
- Click the "Count quantities as negative values" if you want all the takeoff inside this Zone to be counted as Negative value, see Related Articles for important information on "Negative Takeoff".
- Click OK.
The Zone Properties dialog box closes, and the new Zone appears in the Conditions window, on the Zones tab.
How Zones Are Shown in Interactive Bids
When you use On-Screen Takeoff and Quick Bid interactively, Zones are transferred over to Quick Bid as "Bid Areas".
See the next articles for instructions on drawing Zones, which is just like drawing Area takeoff.
 Differences between Bid Areas and Zones Differences between Bid Areas and Zones | Drawing and Using Zones  |
Related Articles