
On-Screen Takeoff does not provide a menu option for converting overlay image files to TIFF (on the Takeoff Tab) however we've come up with a couple workarounds.
Method 1 (Easiest)
- Open the Cover Sheet
- Add a Pages folder named "Overlays" (this is just to make it easier to keep track of the base images and the overlay images)
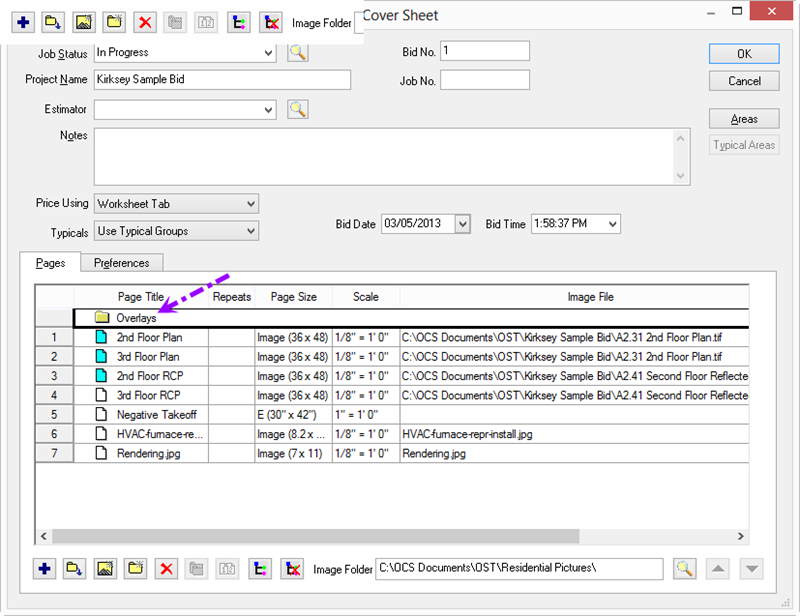
- Click the Auto Add button to add all the overlay files to this folder.
- On the Image Tab, navigate to one of these Pages (in the "Overlays" Folder in the Page Navigator)
- Select Image > Convert to TIFF. Because there are multiple, non-converted PDFs in this Cover Sheet, the program prompts you to "Convert all?" - click "Yes". (We assume you are using PDF image files, if not, you may have to convert the overlays files one-at-a-time on the Image Tab.)
- Once completed, follow the instructions in the previous article (adding Multiple Overlays) to copy and paste the links to the converted TIFs to the "Overlay" field in the appropriate page(s) or, just manually add each converted overlay file on the Image Tab.
Method 2
Another way to accomplish converting your Overlay image files to TIFF format is to swap Base Bid/Overlays on the Cover Sheet.
- Open the Bid's Cover Sheet
- Duplicate each Page that includes an overlay (this creates a "Copy" of the Page, directly beneath the existing Page)
- Cut and Paste the "Overlay Image" file information to the "Image File" column/cell
- Repeat for all Pages with overlays, then click on the Image Tab
- Navigate to those "Copy" pages, and then Convert to TIFF
- Then, reopen the Cover Sheet and reverse the process, cutting and pasting the "Copy" Image File information to the "Overlay Image" column/cell, but for the original Page
- Delete the Duplicates you made of the original Pages, now that they've served their purpose
 Adding Multiple Overlays to a Bid (via the Cover Sheet) Adding Multiple Overlays to a Bid (via the Cover Sheet) | Working with Planroom Projects  |
Related Articles