
The Print Area tool lets you specify a region of the visible screen to print - based on a selected paper size.
- First, activate the toolbar by clicking on the Print Area button
 (if you do not see this button, the Print Area toolbar may be hidden, click View > Toolbars > Print Area to turn it back on).

- Select the Page Size from the drop down list - this list is based on the currently selected printer (your Windows default printer).
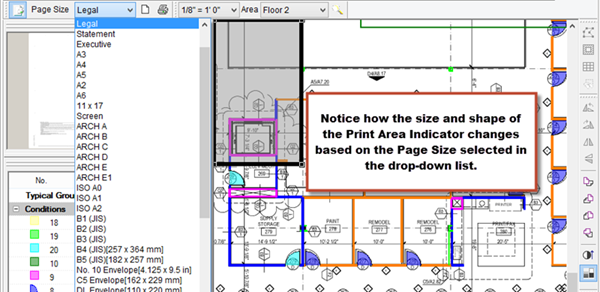
The Print Area indicator appears in the Image Window. The Print Area indicator is a medium grey box and changes to the same relative shape and orientation as the page size selected.
- Change the orientation of the Print Area frame by clicking the Orientation button - the Print Area frame changes orientation to match.
- Resize and reposition the indicator frame anywhere on the current page to select exactly what to print. To resize the indicator, click on it and grab one of the handles then click and drag so the Print Area indicator covers exactly what should be sent to the printer.

Next, open the Print Preview,
- Click on the Printer icon on the Print Area toolbar (not the Print or Preview button on the Main toolbar)

The Print Preview Window opens, notice the footer shows the current scale of the selected area being previewed.

- Make any necessary changes to the Printer Properties
- Click Print send this page to the selected printer
Range and Size options are disabled when using the Print Area function - the selected area on the Takeoff Tab is printed to the Page Size selected in the Page Size drop-down on the Print Area Toolbar, scaled to fit on one page.
 Printing "to Scale" (Full Size) Printing "to Scale" (Full Size) | Importing and Exporting - Overview  |
Related Articles