
Assigning Multiple Properties to a Takeoff Using 'Select Existing Item'
The Select Existing Item option allows you to assign multiple properties to a single takeoff (or item).
PlanSwift must be open and a job and a floorplan selected before you can assign a different property to a takeoff.
- Click on an empty cell in the linked spreadsheet where you want the value of the new property assignment to be stored.
- Click on Select Existing Item

- In the Select Existing Item window, click on the item in the left column that you want to use (in this case we are selecting "Carpet Brown" which has an "area" property of about 1710 square feet),
- Then, in the right column, click on Linear Total.
Some examples of properties that you might want to use are Area, Linear Total, Qty, Section Count, Segment Count, and Depth, and others are available.

- The result in the linked Excel spreadsheet cell B7 is 367 linear feet, which is the linear perimeter in feet of the 1710 square-foot Carpet Brown takeoff area (shown in cell B6 below).
Without having to perform the takeoff twice (once for the carpet area and once for the perimeter of the room, one takeoff can perform both area and perimeter properties), you get both results you need.

Example - Using the Select Existing Item Option
Follow the procedure below to see how to use the Select Existing Item option. This procedure requires that you have already performed a Footing perimeter takeoff on the A1.2 Floor Plan -Sample Plan.
- Open PlanSwift and open the A1.2 Floor Plan - Sample Plans plan.

- Open the Excel WorkBook that you have been using for these exercises (Figure 2) and click on the PlanSwift Ribbon-bar Tab.

- Connect to the WorkBook as shown in Figure 3 by right-clicking on any cell, hovering over the PlanSwift - Takeoff until the Right-click Menu appears, and selecting Connect.

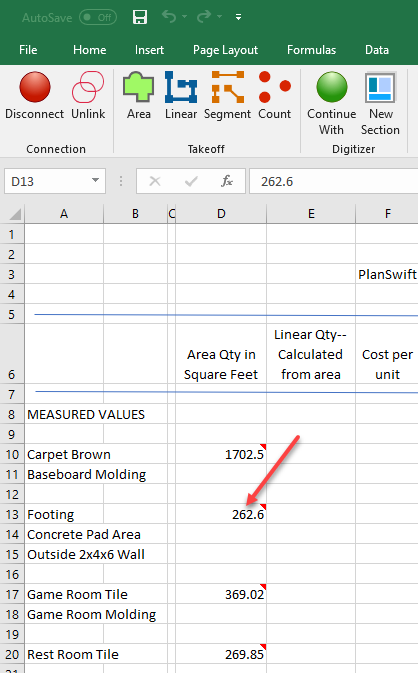
- Click on the Footing cell D12 to select it, then right-click over it; hover over the PlanSwift - Takeoff until the Right-click Menu appears, and select Select Existing Item from the Right-click Menu. Select Existing Item can also be selected from the PlanSwift Ribbon-bar Tab).

- This opens the Select Existing Item window. Select the Footing item from the panel of the window, and note that Qty in the right window is the default. Click on Ok.

- The Footing value of approximately 523 linear feet from PlanSwift now appears in cell B13.
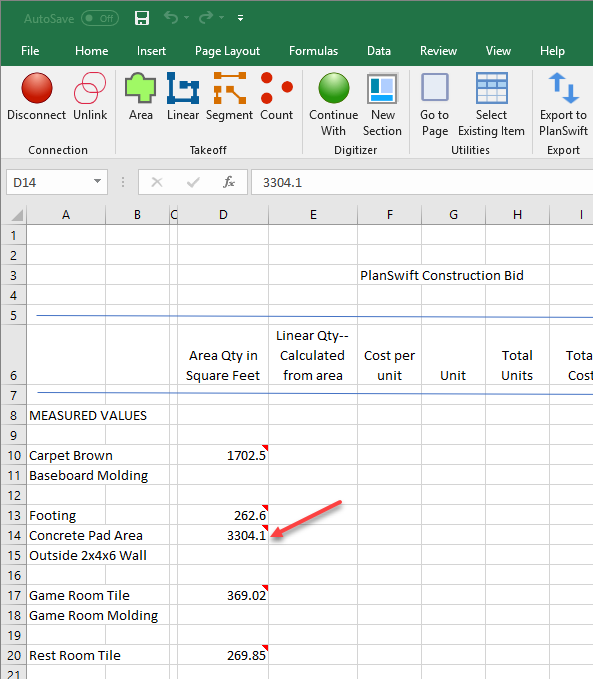
- Now click in cell D14 (to select it). You will now use this Footing perimeter value to calculate the Concrete pad area.
- Right-click in cell D14, hover over the PlanSwift - Takeoff until the Right-click Menu appears, and select Select Existing Item from the Right-click Menu.

- Once again select Footing from the left side of the Select Existing Item window; then select Area from the right column, and click on Ok.

- The Concrete pad area (cell D14) is now calculated automatically as an area value from the Footing perimeter value in cell D13.
- The list of properties available from the right column of the Select Existing Item window come from the items in the currently connected PlanSwift job. The default property is set to the Qty (Quantity) property of the selected item on the left side.
- For jobs that contain numerous takeoff items, a search feature is available in the Select Existing Item window. Enter the item to search for and click on Find.

 Go to Page and Select Existing Item Options Go to Page and Select Existing Item Options | Create and Use Excel Template  |
Related Articles