

The Page Setup button allows you to set details about the report page layout, such as paper size, orientation, margins and scaling.
Specific settings may vary based on your printer manufacturer options.
Page tab
The Page tab allows you to set the paper size and source and the order pages print in when the plan is bigger than one sheet of paper.

Margins Tab
The Margins tab allows you to set the margins around the paper and to select whether you want the material centered on the page.

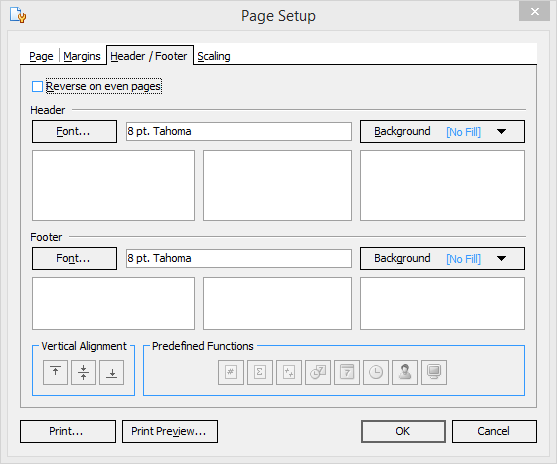
Header/Footer tab
The Header/Footer tab allows you to add headers and footers to all pages of your printed document.
You can select the font type, color and size, and background color, along with what you want the header or footer to say.
PlanSwift has several useful predefined functions that you can add to any part of your footer or header by first selecting the placement of the item, then clicking on the function.
Scaling
The Scaling tab allows you to set the scaling size of the report.
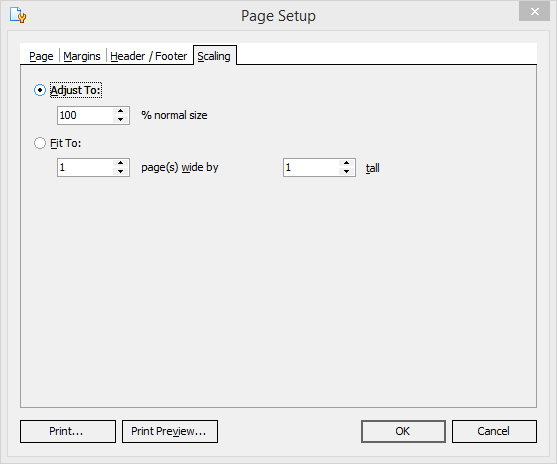
- Selecting Adjust To scales the document to a percentage of original size from 1% and up.
- Selecting Fit To scales the pages to fit multiple pages on a single sheet of paper.
When you have made all the changes you need, click the Print... button to print or the OK button to close the window.
 Reports Tab - New Report Reports Tab - New Report | Report Layout  |
Related Articles