
Before we go through the steps in detail, here is a quick video showing you how to add a project to Bid Center:
You can add a project to your ConstructConnect Bid Center using the Email Forwarding feature or by manually by clicking on the Add Project button.
Add Project Using Email
To add a project using the Email Forwarding technology:
-
You must send the email from the email address you used to register your ConstructConnect account.
-
Forward the invitation to bid (ITB) you’ve received to bidcenter@constructconnectmail.com.
-
After you’ve forwarded your ITB to your Bid Center, make sure to confirm your project details.
Add Project Manually
To add a project manually, follow the steps outlined below.
- Click Add Project from the top right of the window. The pop-up window shown below will appear.

- Populate the pop-up window with relevant information about your project. Required fields marked with an asterisk * are:
- Project Name - The name that you or your company has given to the project.
- Bid Date & Time - Select the bid date and time that the project goes to bid.
- Status - The project status, which can be one of the following:
- Under Review
-
Bidding
-
Won
-
Not Bidding
Additional Steps
If you have additional information about your project, complete any or all of these additional fields to help others understand and manage your project.
- Estimator - The person in your company estimating the project. If you do not have someone with a defined estimator role, this will default to the person creating the project. To select a different estimator, click on the drop-down list and select a name from the list.
- Building Use - How the project is intended to be used when complete.
- Internal ID - Set by you or your company, the internal ID is a unique identifier used by your company as part of your internal workflows.
- My Value - Set by you or your company, this is the estimated value that you assign to the project.
- Inviting Company - The name of your company or the company on the invitation.
- Are you adding documents to the project?
- If yes, continue to the next step
-
If no, click Finish to close the menu. The project is created and is displayed in your list of projects.
- To add documents to the project, click Add Documents (Optional):
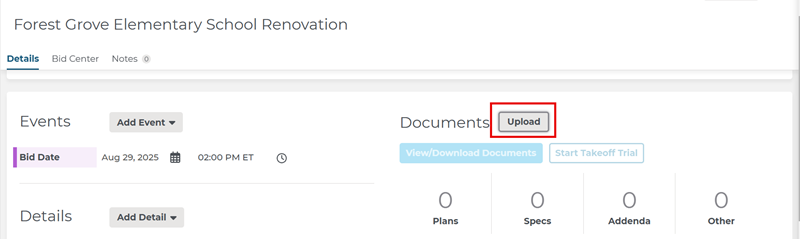
The Upload Files menu will appear as below:
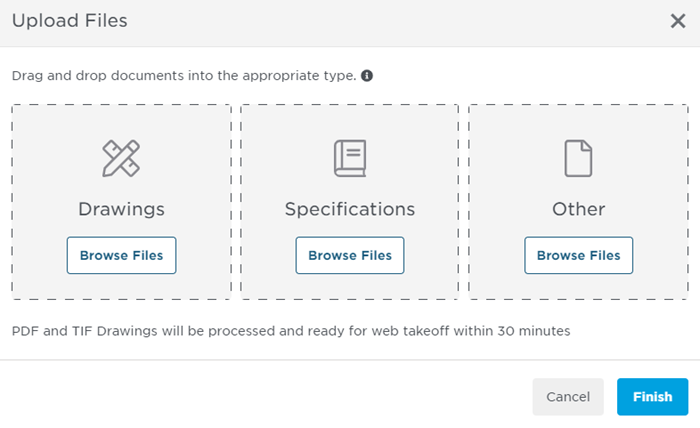
- You can browse for files or use drag-and-drop to attach documents to the project. As your documents upload, an indicator bar displays the progress for each file.
- The upload menu must remain open until all uploads are complete. Clicking Cancel will stop the current document upload and cancel the remaining unfinished uploads. Any document that has already finished uploading will not be removed by the Cancel action.

Once the upload process is complete, the section at the bottom of the menu displays the status for each document upload.

Related Articles