
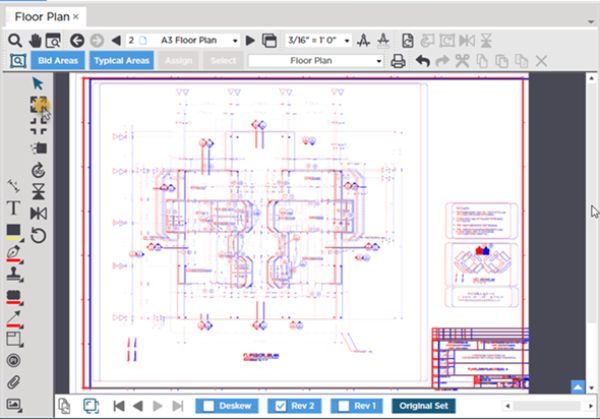
Sometimes your Overlay and Base Image do not line up - many times this happens because the 'working part' of the drawing may not be located in exactly the same position on the Plan.
When we added the Overlay below we can see it is 'shifted" a little to the right - very simple to fix!
Use the  tool to fine tune the Overlay Plan so it lines up with the Base Plan - the idea is to align as you a view the full page until most of the visible image is greyish-purple.
- Click the button
- Grab the Overlay and move it around the Page
In Align Mode you can use your mouse or if your plans are just a little misaligned use the cursor keys on the keyboard to 'nudge' the Overlay plan into alignment.
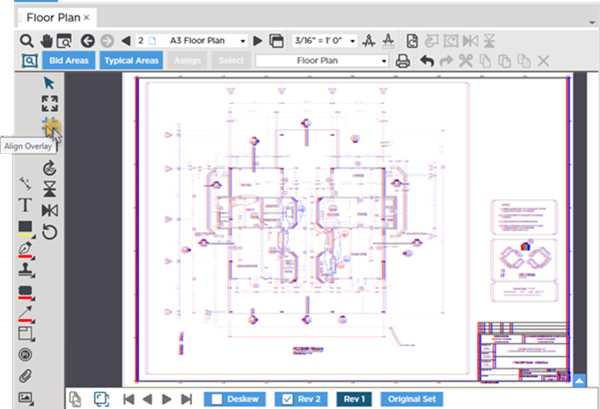
After alignment most of the screen is greyish-purple and we can identify the changes (the blue clouded regions in the center of the Plan) much more easily.
Sometimes even revisions of the same Plan will not align well; they could be scanned images and are stretched in one direction or they may have been saved at a different scale.
Before you can align an Overlay, you may need to:
- Deskewed
- Rotate the Overlay
- Flip vertically or horizontally
- Resize the Overlay
All of these functions are covered in previous articles.
If you get to a point where you are have difficulty adjusting your Overlay, click the Reset Overlay button  and start over.
 Overlay Tools - Resizing an Overlay Overlay Tools - Resizing an Overlay | The Summary and Worksheet Tabs  |
Related Articles