If you haven't already installed On-Screen Takeoff, you start here.
- Review the System Requirements before proceeding.
- Read the Release Notes for this version (and previous versions, if you like).
- Visit the On-Screen Takeoff® Product Information and Downloads page for last-minute information about the current and past versions and to download the installer.
Verify that you have a license that supports whatever version you are going to install.
Installation Instructions
Save the downloaded installer file to your local hard drive (the desktop is a perfect place; it is easy to find the installer).
Once the installer file is downloaded, double-click it to begin the installation.

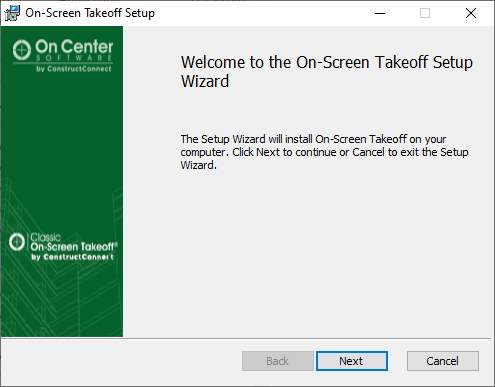
Click Next on the Welcome Screen.
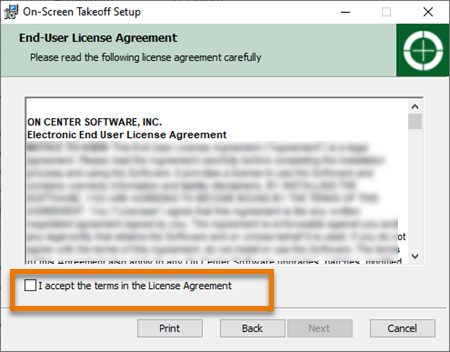
Review and Accept the End User License Agreement and click Next.

If you need to install to a directory other than the Windows default (Program Files or Program Files (x86)) click the Change button, otherwise click Next on the Destination Folder screen.
 .
.
(On Center recommends always installing to the Default directory.)
 .
.
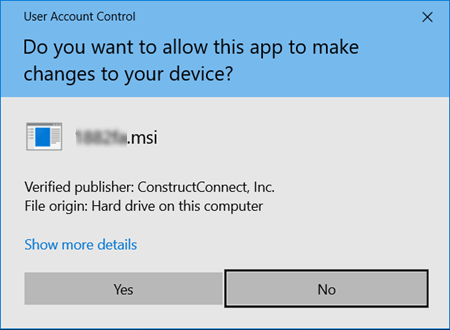
Click Install. (When you click Install, the Windows User Account Control pop-up opens, you must be a local Windows administrator to install the product.
 .
.
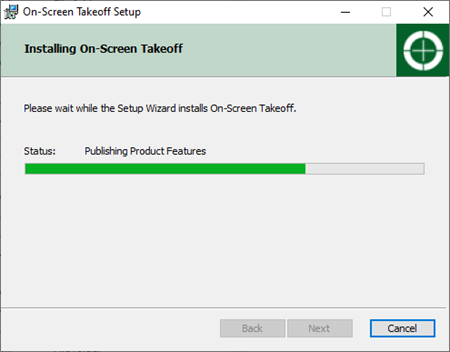
Click Yes to continue with the installation - a progress screen displays.
 .
.
When the installation is complete, an information screen displays - review the information and then click Finish.
After you click "Finish", a web page opens explaining how to license your product (also covered in the next article).
You will find the shortcut to Quick Bid on your desktop, double-click it to launch the program.

- Users who have purchased On-Screen Takeoff must activate a license to unlock the full functionality of the program (next article).
- If you are using the free PlanViewer, you do not license the product and can skip to Quick Start Wizards.
 What Have You Gotten Yourself Into? An Introduction to On-Screen Takeoff What Have You Gotten Yourself Into? An Introduction to On-Screen Takeoff | Licensing On-Screen Takeoff (Unlocking Full Functionality)  |
Related Articles
