
The Highlighter tool allows you to mark areas of your plans in color freehand.
The Highlighter tool is in the Annotations section of the Home Tab’s ribbon bar.

Drawing Highlighter Annotation
- Click on the Highlighter button (if you click on the lower part of the button, the color drop-down menu opens to allow you to select the color you would like)

Standard Box
To draw a standard Highlighter box,
- Ensure the Record Mode is set to Box (at the bottom of the screen)
- Click the starting point
- Move to the end point or corner
- Click again to draw the box, or
- Simply Click-Drag-Release diagonally
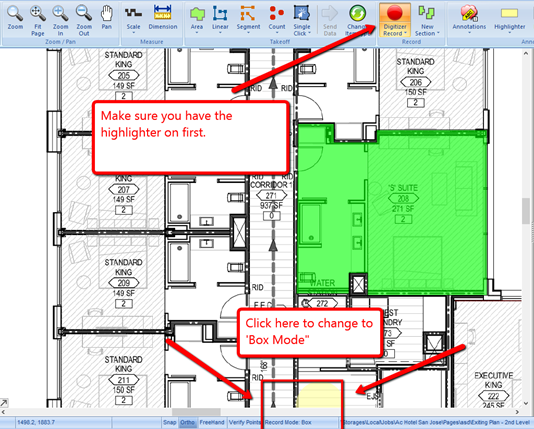
- When you are done, click the "Digitizer Record" button or Esc to stop

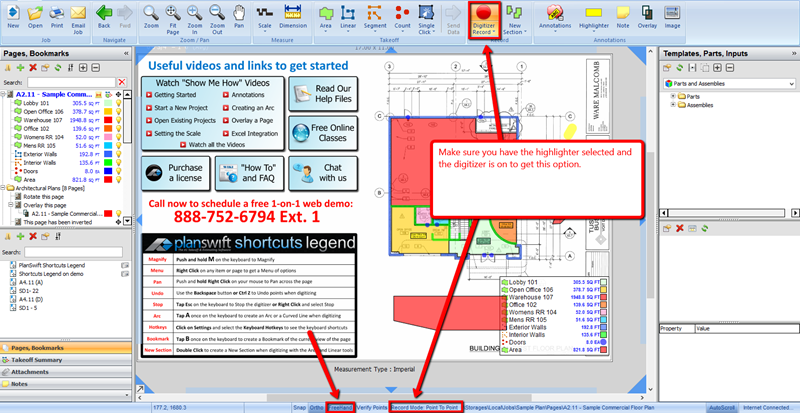
Freehand
You can also have the Highlighter tool go freehand if you'd like to drawing curved lines.
- Set the Record Mode: to Point-to-Point
- Click to turn on the Freehand option
Once those options are selected,
- Start the highlight and then click and hold down the left mouse button until Freehand comes up next to the highlighter point - do not move the mouse while holding the mouse down until you see “Freehand” next to the cursor
- Once the Freehand message appears, hold the mouse button down and drag your highlighter where you would like to highlight

To change a Highlight after it is drawn, select it and change its Properties.
If you want to change the highlighter tool options, go to the Settings tab, then Annotations. There is a Default Highlighter Settings which allows you to set the size and transparency of the Highlighter.
 Pen (Line) Markups Pen (Line) Markups | Note Annotations  |
Related Articles