
When you are using Multi-Condition Takeoff with only Linear Takeoff Items you have several options for drawing the takeoff. For a refresher on Linear Takeoff Tools see Related Articles.
Before you draw any takeoff set and verify the scale on each Page; see Related Articles for more information.
In the example below we show you the tools available and how Multi-Item Takeoff works when you are using Linears only.
Linear Takeoff Items Only
If you select only Linear Takeoff Items to use with Multi-Condition Takeoff you can the Polygon  Rectangle
  and the Elliptical
  takeoff tools.
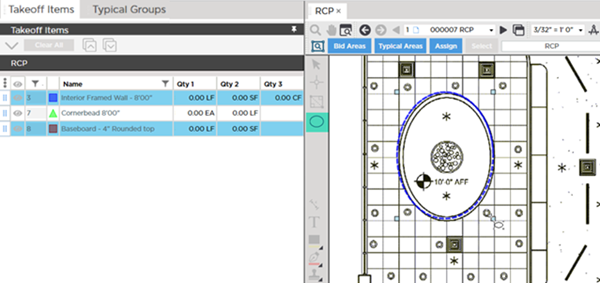
The two ellipses are drawn on top of one another.
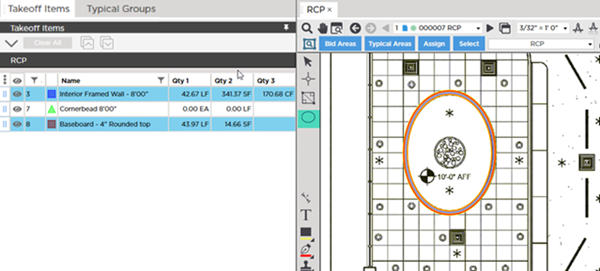
Notice the LF values are slightly different between the two Takeoff Items?
Remember when drawing an Elliptical Linear object the linear measurement is based on the middle of the linear object. These two Takeoff Items have different depths (or widths from a birds-eye perspective). Each takeoff object aligns its outer edge with the ellipse you draw which means the middle for one is slightly closer.
If we move one of the objects a bit we can see that the two linear objects are not the same width - so their center lines are not equal.
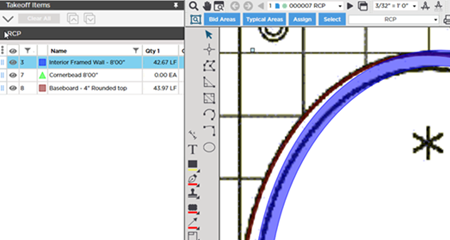
When you use Multi-Condition Takeoff objects are placed exactly on top of each other which can make it hard to see them. You can show-hide the different Takeoff Items' takeoff to make it easier to see the individual takeoff objects (toggle the "Show" indicator to the left of each individual Takeoff Item in the Takeoff Items Pane). See Related Articles if you need a refresher on using Custom and Takeoff Item Layers.
 Drawing Multi-Condition Takeoff When Only Linear and Count Takeoff Items are Selected Drawing Multi-Condition Takeoff When Only Linear and Count Takeoff Items are Selected | Drawing Multi-Condition Takeoff When Only Count Takeoff Items are Selected  |
Related Articles