
Issue
Your images are not as clear as you expect. Specifically, PDFs, or other images, look great in Adobe Reader or other viewers, but look grainy or incorrect in On-Screen Takeoff.
Resolution
On-Screen Takeoff can render images/plans in lower-resolution (2bit) grey-scale or in higher resolution (8bit) color. Because higher resolution images could cause performance products on older computers, we defaulted to low-res images in On-Screen Takeoff. However, most modern computers are capable of display and converting high res images without negatively affecting system or application performance, so beginning in OST v.3.96, we started enabling color/high-res images by default.
Because you may be dealing with a set of images that was loaded prior to making this switch, your application (and any converted TIFFs) may be set to lower-resolution, below, we explain how to check this and what to do if you want to enable color on an existing project.
On-Screen Takeoff
The option (and functionality) to "Disable Higher Resolution Images" is available in Tools > Options. The option defaults to unchecked, and the program displays and converts all images at 8-bit depth/high quality/high resolution. When checked, OST reduces image display to 2-bits, which is substantially lower quality.
- This option affects all image files but not if you have already "Converted to TIFF" in OST. Because the resolution is higher, please expect the program to take slightly longer to render/process images. The payoff is superior image quality and less chance of artifacts being dropped.
- If you already converted your image files to TIFF at low resolution/grey-scale, to gain the benefits of high resolution converted files,
- Verify that the option to "Disable Higher Resolution Images" is unchecked (turned OFF)
- Re-add all the images (as PDFs or whatever their original format was) to your project
- If necessary, have the program re-convert them to TIFFs. (Going forward, all new bids automatically use high resolution images so you won't have to do this again.)
Your color images setting affects all image files you have not converted to TIFF. If you have already converted files to TIF, you will need to re-add them to your project to take advantage of the higher resolution/color settings.
After re-loading the original files, as "color", be sure to convert them - they will convert to higher quality TIFFs but will load significantly faster.
Image Color Difference
The following are examples of PDF images loaded with the default 2-bit black and white option, and with the 8-bit Enable Color PDF's option.
|
|
|
| Figure 1: Color PDF displayed in 2-bit greyscale Disable Higher Resolution Images checked (not the default setting) | Figure 2: Color PDF displayed in 8-bit Color/High-Resolution Disable Higher Resolution Images unchecked (default) |
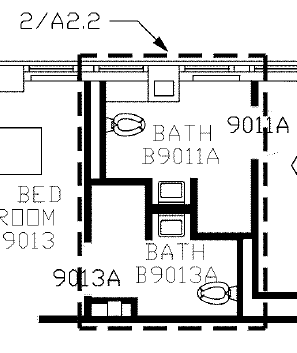
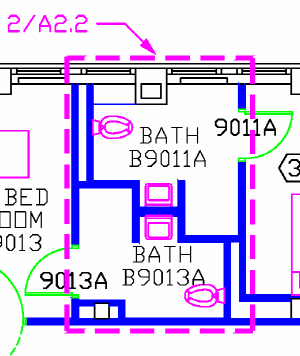
Image Quality Difference
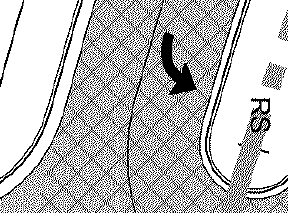
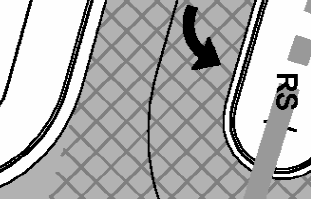
Even non-color PDFs (and other image files) look better when Color/High-Res is turned on.
|
|
|
| Figure 3: Greyscale PDF displayed in 2-bit resolution Disable Higher Resolution Images checked (not the default setting) | Figure 4: Greyscale PDF displayed in 8-bit resolution Disable Higher Resolution Images unchecked (default) |
Related Articles