
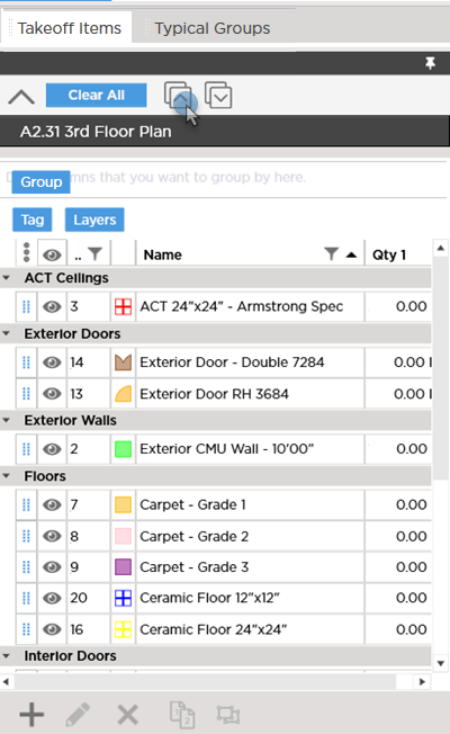
The Conditions Typical Groups and Punch List Panes include a Group By control that allows you to group the grids by various fields. For example you can group the Conditions Pane by Tag Type Layer Division and/or Section.
The Group By control explained below works the same on other screens in ConstructConnect Takeoff - almost anywhere information is shown in a grid you can Sort Filter and Group it.
Grouping a Pane
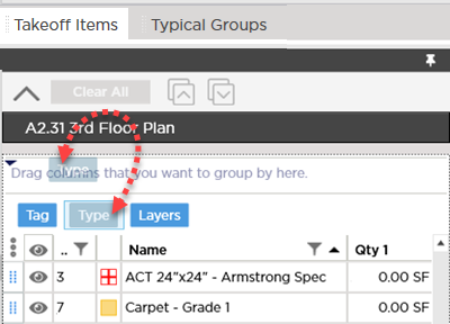
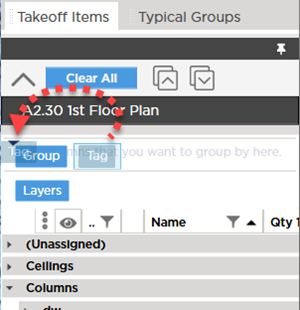
First activate the Grouping control by clicking the Group By button at the top of a Pane (or right-click within the Pane and select "Show Group By..." this opens the Group By control (highlighted below).
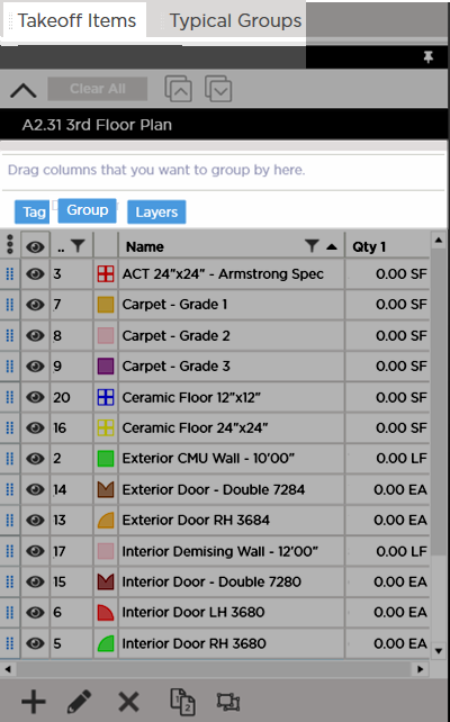
The control consists of two areas the first shows you the fields by which you can group the current list (in our example we are grouping the Takeoff Items Pane so Tag Group and Layers are available). The second is the "Apply" box just above the fields showing "Drag columns that you want to group by here".
To create the grouping click on one of the available fields (such as "Group" in our example) and while holding down the mouse button drag the field into the grouped. (Yes we're Grouping by Group!)
Release the mouse button and the Pane immediately is grouped.
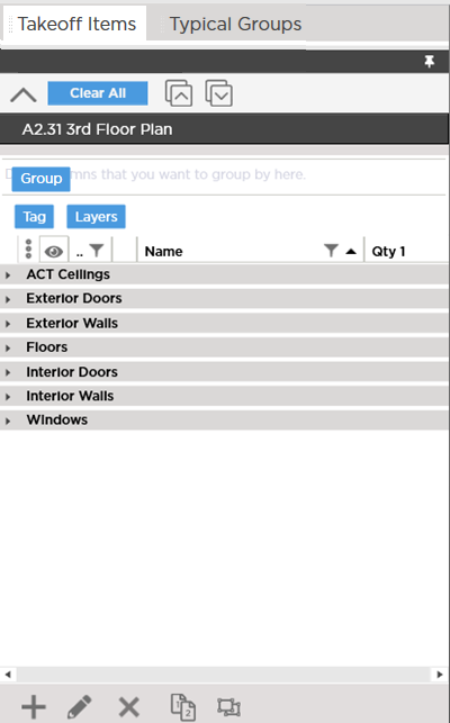
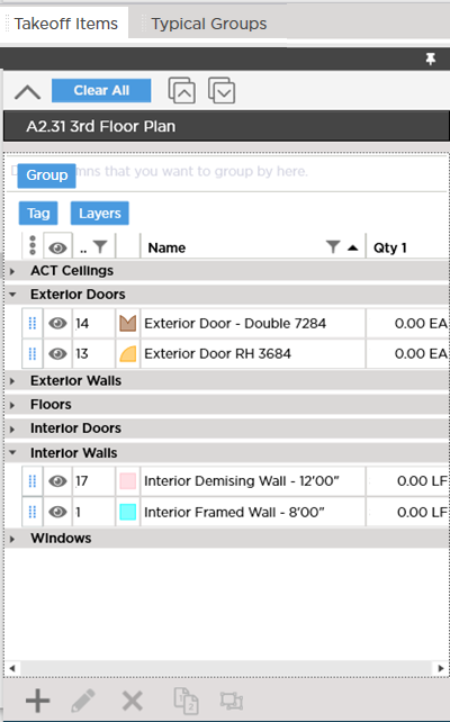
By default groups are always collapsed. Click the expand (the arrow/triangle that points to the right) to expand groups one at a time...
Or click the Expand All button in the Group By Control to expand all groups...
Once you have grouped the information to your liking you can close the Group By control by clicking the Close Group By button . Closing the Group By control does not remove your groupings it just closes the control.
Grouping by Multiple Fields
You can group a Pane by as many fields available and control the hierarchy of the grouping. We caution you from grouping by too many fields because doing so can make the grid a little messy.
In our example below we grouped by Group and then Tag. Because Group is furthest left in the Apply box Group is the highest Grouping then within the Group grouping Takeoff Items are grouped by Tags.
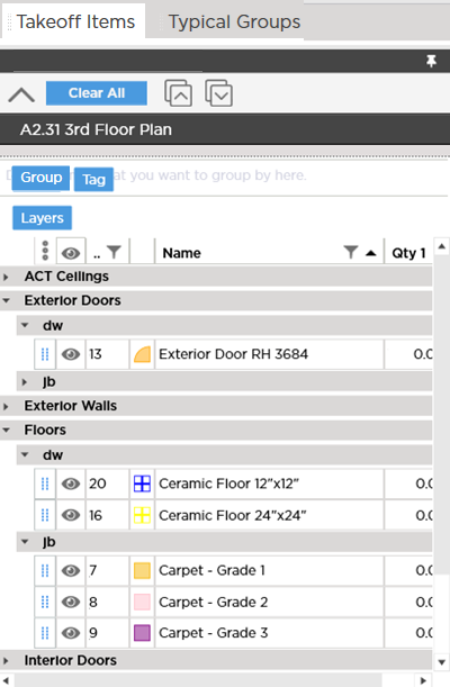
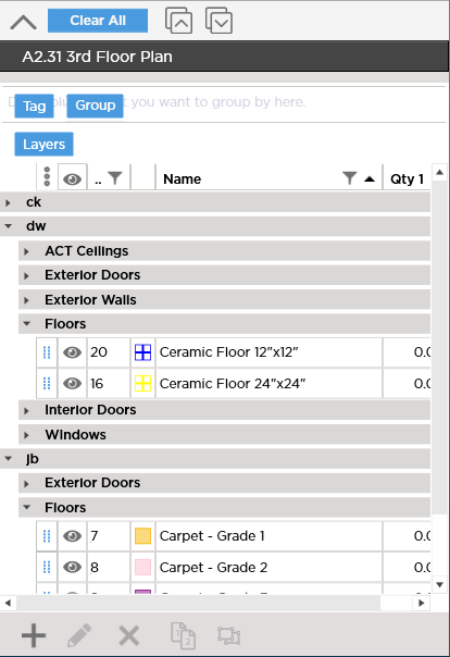
We decide it would make more sense to have the highest grouping be for Tags we simply change the Tag field's position in the Apply box by dragging and dropping it to the left of Group.
Now our Takeoff Items Pane is grouped by Tags (employees' initials in our example) and then under each employee's initials Takeoff Items are grouped by Takeoff Item Group.
Removing a Grouping
You can remove a single Grouping by dragging its field identifier out of the "Apply" box.
Or you can remove all Grouping by clicking the Clear All button .
.
 Filtering within a Pane Filtering within a Pane | The Takeoff Window  |
Related Articles