
The first thing you need to do after you log into ConstructConnect Takeoff is create a Project and add Documents.
Step 1 - Create a New Project
Before you can really do anything in ConstructConnect Takeoff, you must create a Project and add Documents (Drawings/Plans, Specs, other Docs).
After logging in, on the Project Tab,
- Click

The Add a Project dialog box opens:
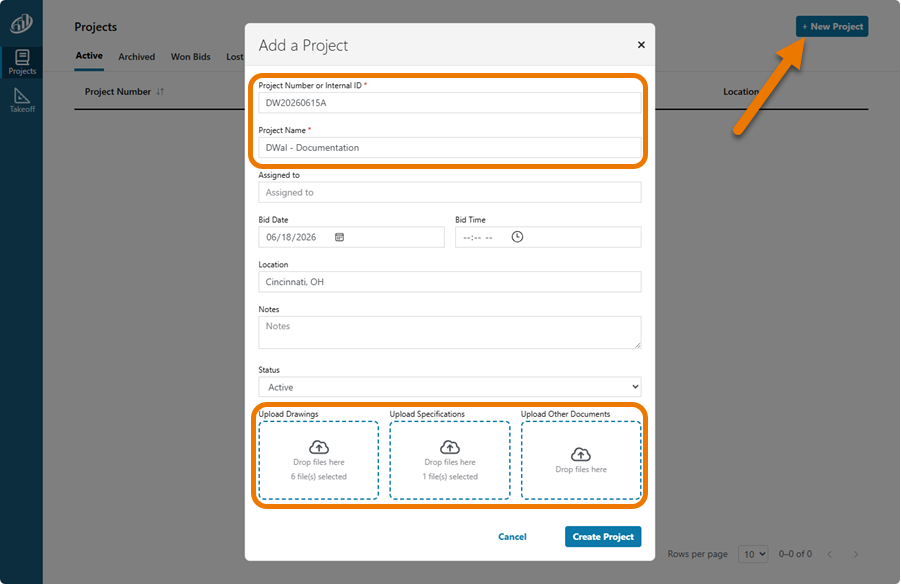
You must give your new Project a Project Number/Internal ID and a Project Name, other fields are optional.
Step 2 - Add Documents
Supported Document File Types
PDF, TIFF, and JPG
Now, there are two ways to add documents to your new Project:
- You can Drag & Drop them onto the appropriate document type box or,
- You can click on one of the document type boxes to browse your computer for the files to add
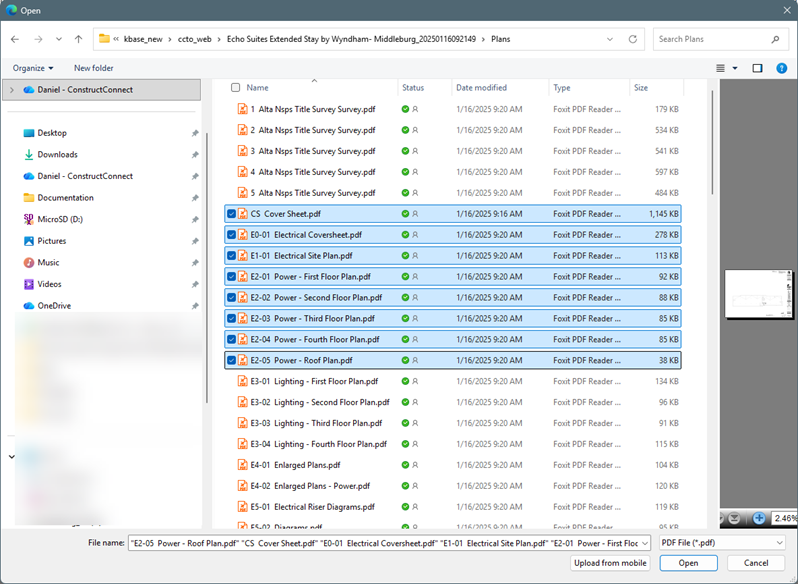
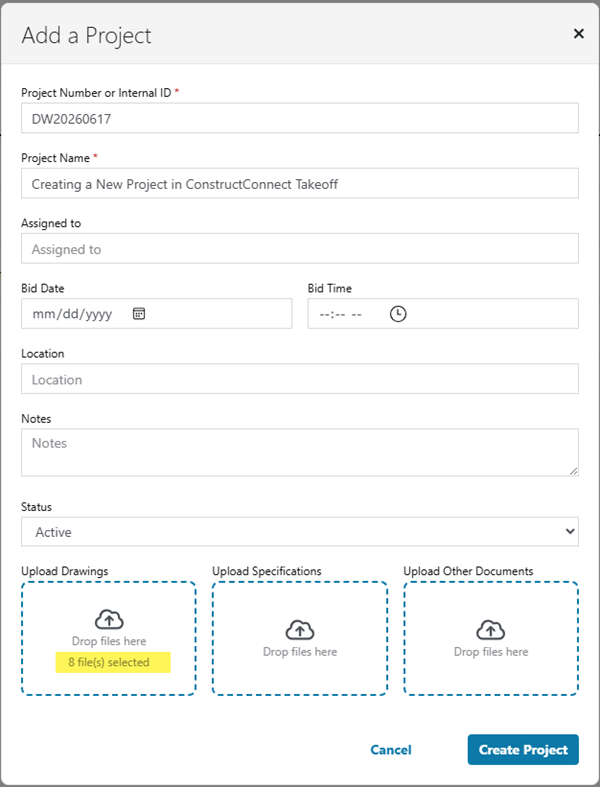
- Click

Your Documents are uploaded and your Project created:
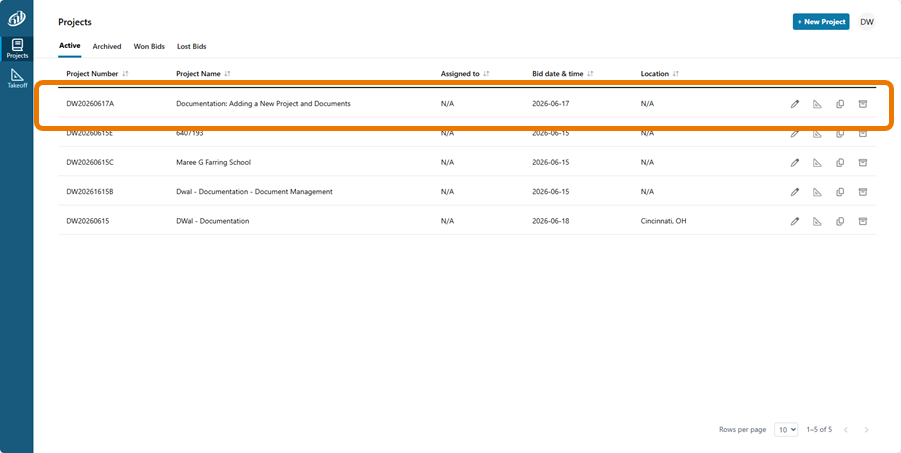
Use the buttons on the right to Edit  , Takeoff
  , Duplicate
  , or Delete
  this Project.
 Create Your ConstructConnect Takeoff Account and Log in Create Your ConstructConnect Takeoff Account and Log in | Get Real Results in ConstructConnect Takeoff with Auto Takeoff in Less than 2 Minutes  |