
The Takeoff window (also called the "image" or "Planview" window) is where the program displays your plans, annotation, markups, and of course, any takeoff you have drawn. It is easy to confuse Takeoff windows with the Takeoff Tab. There is only one Takeoff Tab for a bid, but a bid may have one, two, or up to ten Takeoff Windows.
You can open up to ten separate Takeoff windows for each Bid, although we recommend opening only as many Takeoff Windows as you need. You need to decide what works best for you, of course, but every Takeoff Window uses some system resources, so opening unnecessary Takeoff windows can affect program performance. We cover opening additional Takeoff Windows and undocking/docking those windows later in this Chapter.
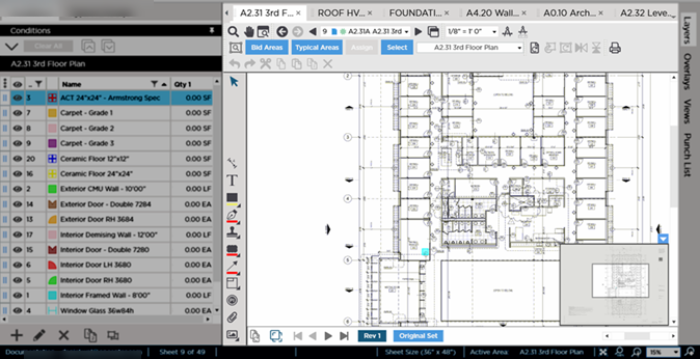
Every Takeoff Window includes its own region for viewing plans, takeoff, and annotations, toolbars, a Pan Window/Indicator, and Revision-Overlay Controls, even if it is undocked.
Takeoff Tab with one docked Takeoff Window

Undocked Takeoff Window
There are several toolbars available on every Takeoff window:
At the top of the window:
- Cursor Tools
- Page Navigation
- Edit (takeoff)
- Scale
- Rotate and Flip (takeoff and plans)
- Bid Areas
- Image Legend
Along the left side of the window:
- Takeoff tools
- Annotation tools (which includes some non-Annotation functionality such as Punch Items, Named Views, and Capture View).
Along the bottom of the window:
- Revision and Set Navigation toolbar (includes Overlay toggle)
Inside the takeoff window:
We cover each toolbar and control in the articles that follow, starting with the Main Toolbar.
 Grouping within a Pane on the Takeoff Tab in ConstructConnect Takeoff Grouping within a Pane on the Takeoff Tab in ConstructConnect Takeoff | Takeoff Window Toolbar  |
Related Articles